Connect a source. Record your first clip.
Connect a compatible capture card, choose your source, and preview, capture a still or start recording in the same workspace.
Where does your picture start?
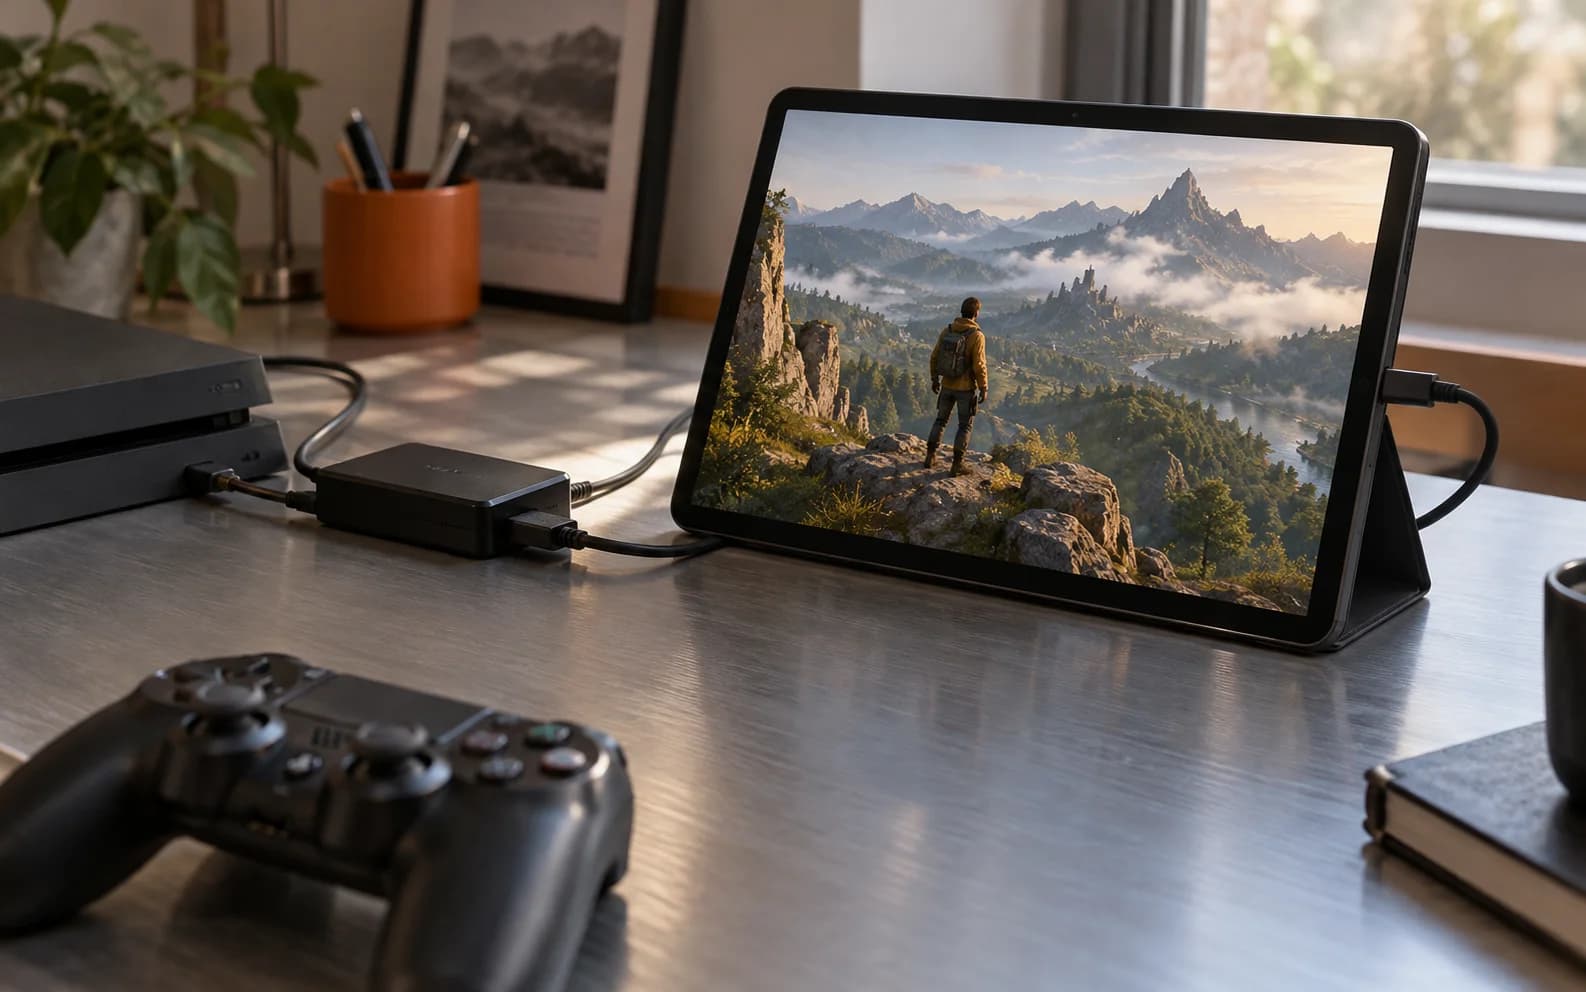
Choose a source and follow the connection. HDMI carries its picture to a capture card, which converts it into USB video your computer or mobile device can read.
- Game consoleHDMI output
- Capture cardHDMI → USB
- Connect to your deviceUSB cable with data support
- Jemdo StudioPreview · Record · Capture stills
Start with a working HDMI output. For a black screen, check the signal format, capture-card compatibility and content protection. A display accepting the signal does not guarantee that a capture card can.
Check that the picture keeps updating
Confirm the correct audio input
Record a short test before the full take
A shorter path to the picture.
Keep connection, picture and sound checks in one place.
- 01
Connect your source
Use a compatible HDMI source and UVC capture card. Select the device in Studio and check that the source is producing an unprotected signal.
- 02
Check the picture and sound
Choose supported resolution and frame-rate settings. Check the audio source and monitoring before recording a long session.
- 03
Save what matters
Take a still or record the session. Use the client library and export controls to find and share your saved media.
Before you start
Mac requires macOS 14 or later; Apple mobile requires iOS/iPadOS 17 or later. USB capture on iPad needs a compatible model; Android needs USB host support. iPhone uses its camera and Link rather than UVC capture. Formats depend on your source, capture card and device.
Compare plans